The Tombstone Has Arrived, Now What?
After weeks of waiting, your pet tombstone has finally arrived. The box is heavy, containing the custom memorial stone for your beloved pet. But what now? How do you safely remove it from the box? How do you install it securely in your garden? Improper installation can lead to tilting, sinking, or even tipping over in the wind.
This guide provides complete steps from unboxing to installation.
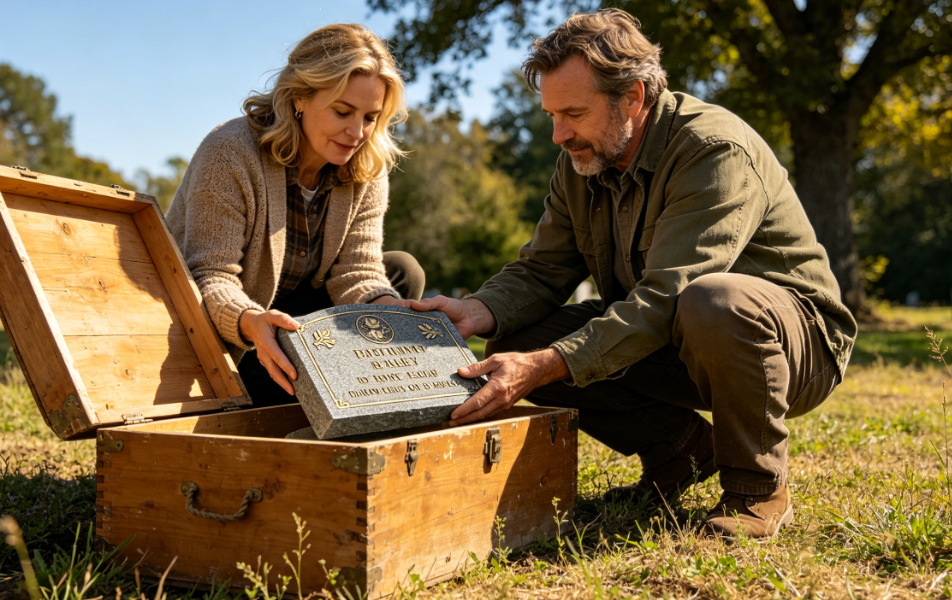
Step 1: Unbox and Inspect
Tombstones typically ship in wooden crates or thick cardboard boxes with foam or cardboard padding. Unboxing steps:
- Lay the box flat on the ground, not upright.
- Carefully open the wooden crate with a screwdriver or pry bar. Watch for nails that could scratch the stone.
- Remove inner padding and gently slide the stone out. Do not carry it alone — get help.
- Place the stone on a soft cloth or grass, not directly on hard ground.

Inspect for:
- Cracks or chips from shipping?
- Engraving matches the design proof?
- Color fill even?
- Size correct?
If you find problems, contact the artisan immediately and keep the packaging for returns.
Step 2: Prepare the Installation Site
Before installing, prepare the foundation.
For flat stones:
- Choose level ground. Remove grass and debris.
- Dig a shallow hole about 2-3 inches deep, slightly larger than the stone.
- Spread a 1-inch layer of small gravel at the bottom for drainage.
- Check levelness with a spirit level.
For upright stones:
- Choose level ground. Remove grass and debris.
- Dig a hole 6-8 inches deep, 2-3 inches wider than the stone‘s base.
- Spread a 2-inch layer of gravel at the bottom.
- Prepare quick-setting concrete (10-20 pounds depending on stone size).
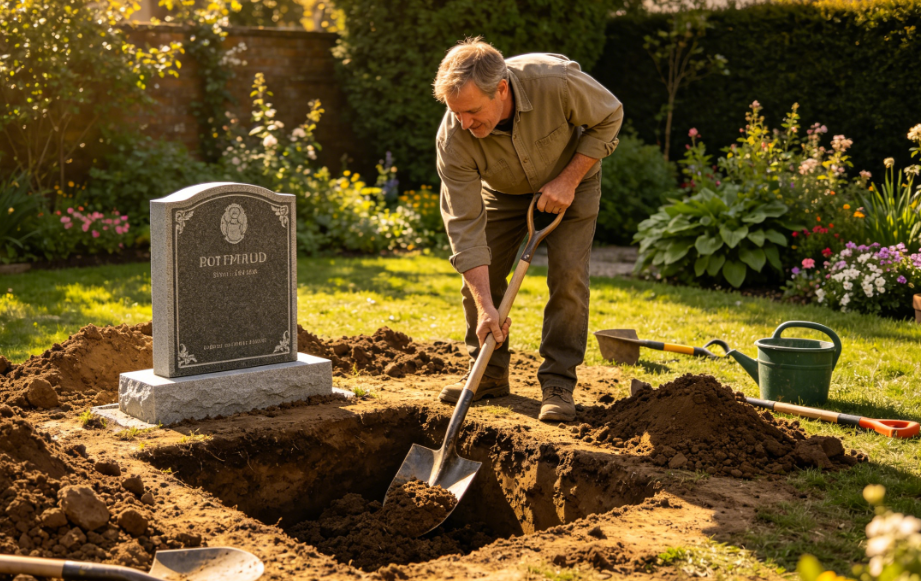
Step 3: Install the Tombstone
For flat stones:
- With two people, lift the stone over the hole and gently lower it in.
- Check levelness with a spirit level. Adjust by adding small gravel under low spots.
- Backfill soil around the stone and tamp firmly. The stone surface should sit about 0.5 inches above ground to prevent puddling.
- Wipe away dirt with a soft cloth.
For upright stones:
- Place the stone‘s base into the hole and position correctly.
- Check level and plumb with a spirit level.
- Mix quick-setting concrete according to package instructions. Pour into the hole around the base.
- Poke with a stick to remove air bubbles.
- Recheck level and plumb. Adjust before concrete sets.
- Allow concrete to cure completely (24-48 hours). Do not touch the stone during this time.
Step 4: Post-Installation Care
After installation:
- Clean the stone surface with a soft brush and water.
- Plant low-growing plants around the stone (optional).
- Record the installation date for future maintenance.
Common Questions
Q: Can I carry the stone alone? Stones under 10 lbs are manageable. Larger stones need two people. A 10×8×1 inch granite stone weighs about 20 lbs.
Q: Can I use regular cement? Yes, but quick-setting concrete is easier. Regular cement takes days to cure.
Q: Can I install in winter? Not if the ground is frozen. Concrete won‘t cure below freezing. Wait until spring.